Getting Better Photos Without Editing
With Etsy's updated photo requirements, I wanted to share a few photography tips for sellers who may not have experience using a camera.
I have a background in photography, and most of my product photos are taken using two lights, which means I generally need very little editing afterward.
You don't need expensive photography equipment to take good product photos. The most important thing is having enough light, and natural light is your best option.
1. Natural Window Light — My Number One Recommendation
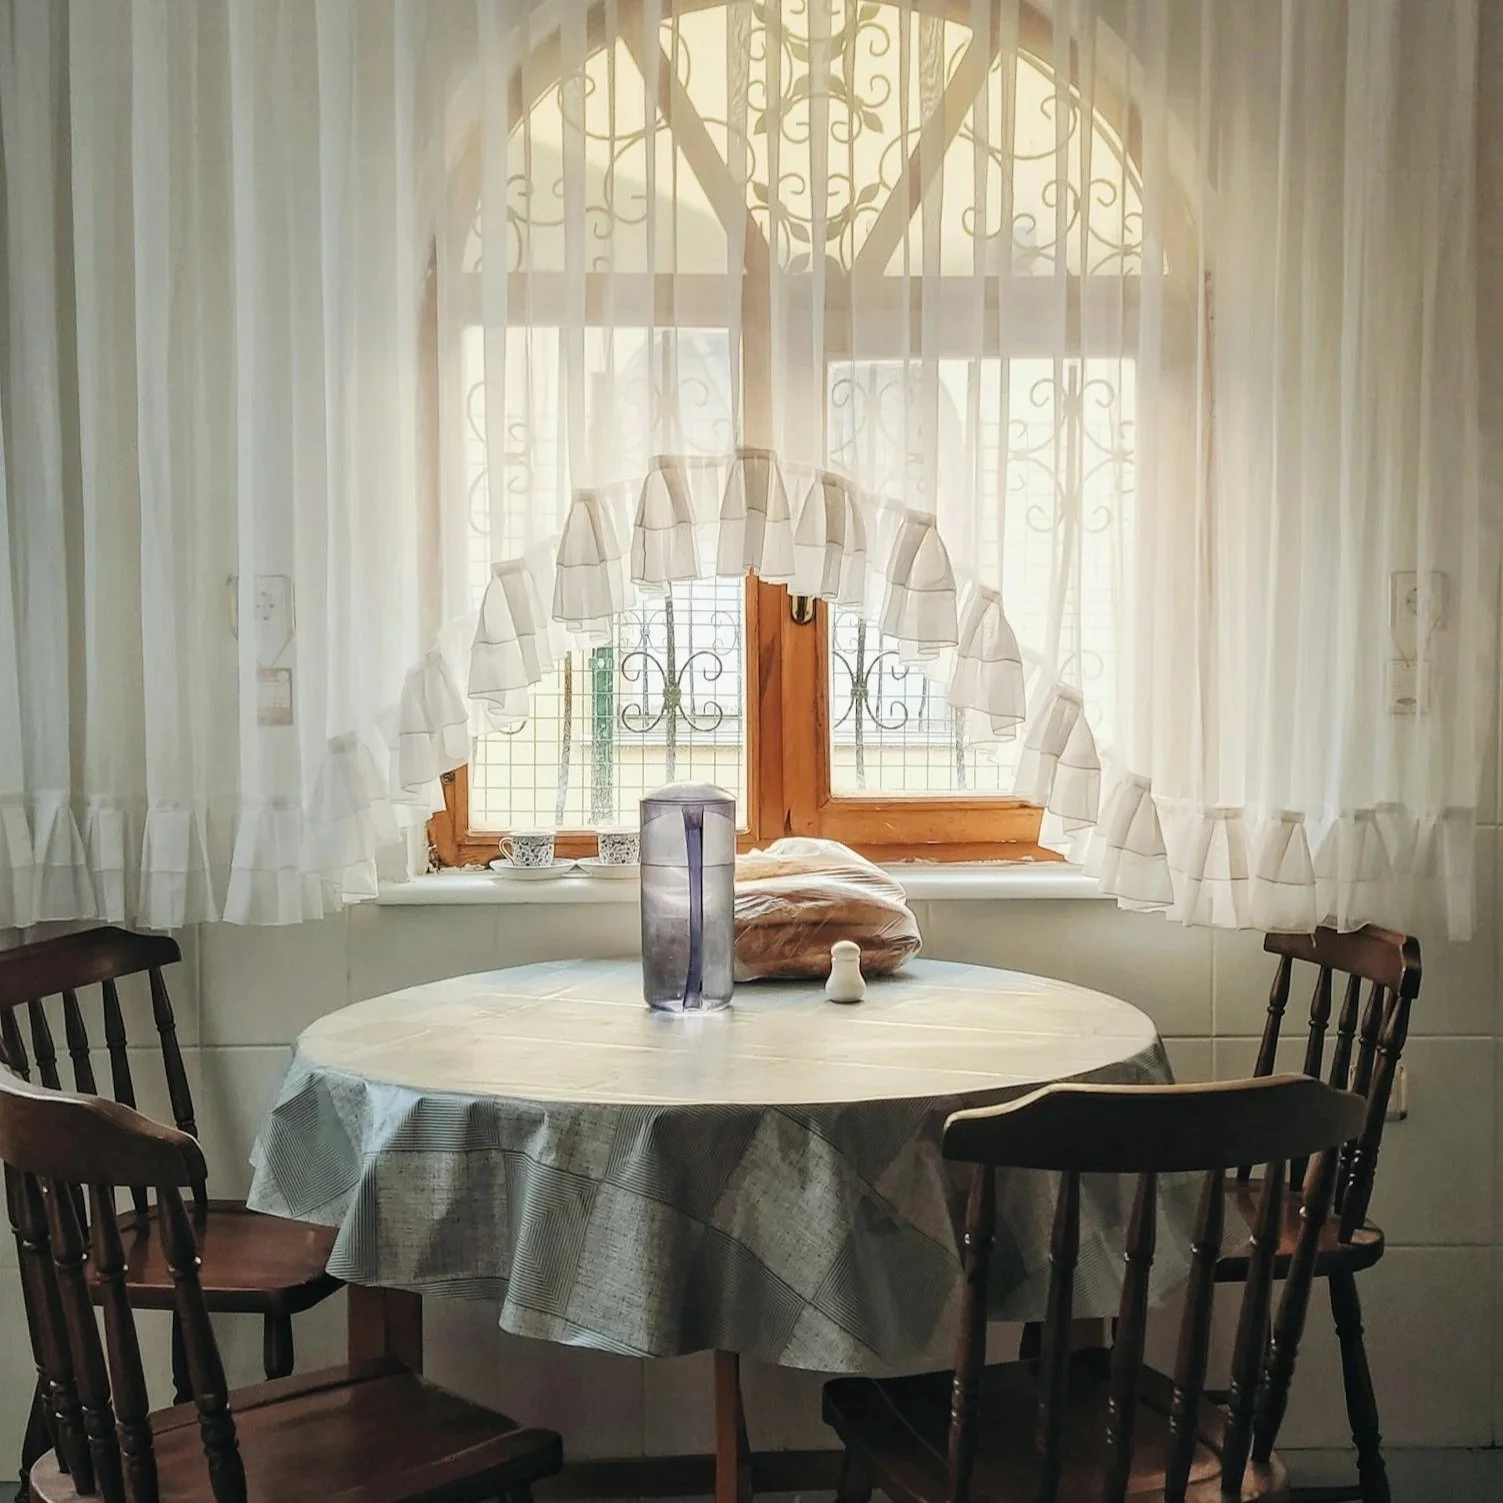
If you have a window that gets plenty of daylight without direct sunlight hitting your product, you've already got a great place to photograph your items.
Here's what I recommend:
Find a window with soft, indirect daylight. A north-facing window is often ideal, but any window without harsh, direct sunlight can work.
Place a table next to the window.
Set your product on the table, preferably against a simple, neutral background.
Turn off nearby lamps or overhead lights if they're creating a yellow or orange color.
Photograph your product using the natural light coming through the window.
Why does this work? Natural light helps show your product's true colors and details without creating the harsh shadows you often get from direct sunlight or a camera flash.
2. Photographing Outside — Another Great Option
If you don't have a good window, take your products outside!
You don't want to photograph them in direct sunlight. Instead, find an area with plenty of daylight but no sun shining directly on your product.
Here's an easy setup:
Find a shaded area under a tree, porch, or covered patio.
Set up a small table.
Cover it with a white or black tablecloth, depending on what works best with your product.
Place your item on the table and photograph it in the shade.
The shade softens the light, giving you a similar effect to photographing beside a window.
Just be aware that shade under trees can sometimes create green color reflections or patches of sunlight. Look for an area with even lighting.
3. Using a Digital Camera — Recommended Settings
If you're using a DSLR, mirrorless camera, or digital camera that allows you to adjust settings, here are a few numbers to understand.
Shutter Speed: 1/125 Second
Your shutter speed controls how long the camera collects light.
I recommend starting at 1/125 of a second when photographing handheld. This helps reduce blurry photographs caused by slight camera movement.
If you're using a tripod and your product isn't moving, you can use a slower shutter speed to let in more light.
Aperture: Use a Low F-Number
Your aperture controls how much light enters your camera through the lens.
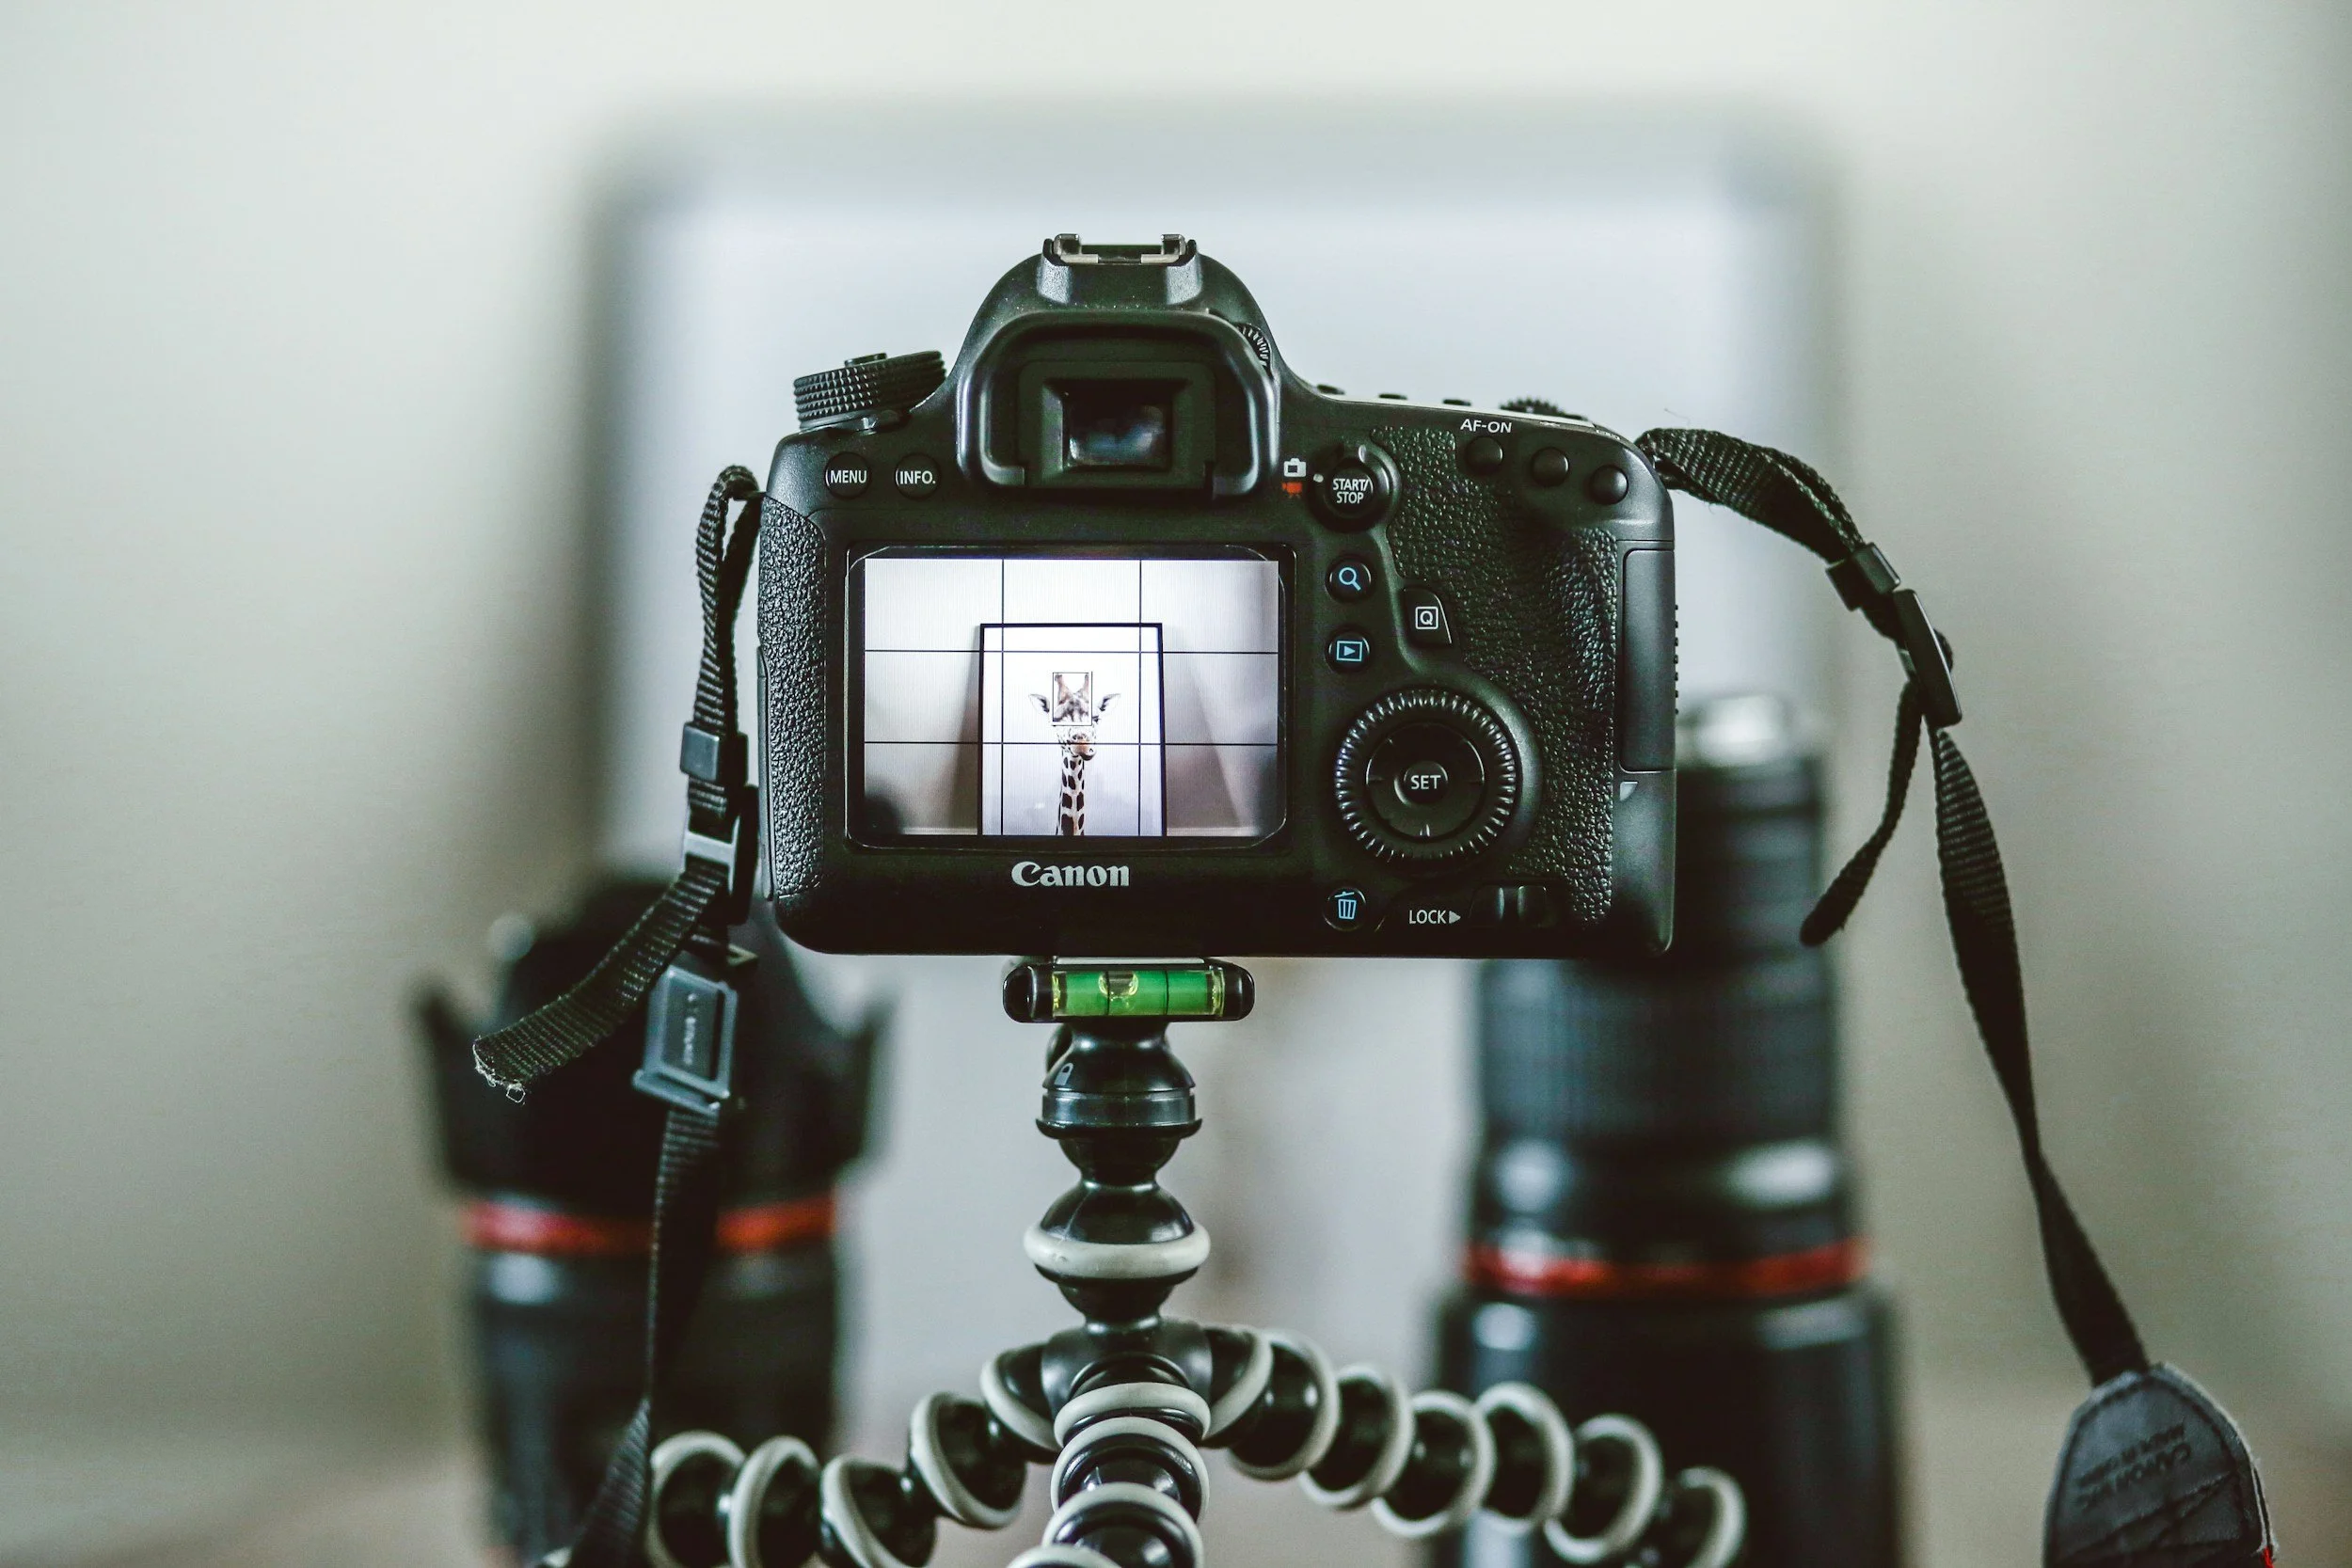
The smaller the f-number, the more light your lens can let in.
For example, your lens might say:
f/4.5–5.6
f/3.5–5.6
f/2.8
If your lens is an 18–55mm f/3.5–5.6, you'll typically get the widest aperture (f/3.5) when your lens is set to 18mm.
If you're using a 55–200mm f/4–5.6 lens, the widest aperture (f/4) is typically available at 55mm.
One important thing: You don't always want to use the lowest f-number. If your product has depth, using an aperture like f/5.6 or f/8 may help keep more of it in focus. Also, don't photograph too close with a wide-angle lens if it makes your product look distorted.
ISO: Start Around 800–1200 Indoors
ISO controls how much your camera amplifies the light it captures.
ISO 100–400: Great for bright natural light.
ISO 800–1200: A useful starting range for indoor window light.
ISO 1600 or higher: Sometimes necessary in darker conditions, although higher ISO can introduce grain or noise.
If you have plenty of daylight, use a lower ISO for cleaner photographs.
Which Camera Mode Should You Use?
If you're comfortable adjusting your camera, Manual (M) gives you control over shutter speed, aperture, and ISO.
If you're still learning, I recommend Aperture Priority (A or Av). You select your f-number, and the camera chooses the shutter speed. Just check that the shutter speed isn't too slow when shooting handheld.
Shutter Priority (S or Tv) is another option if you want to keep your shutter speed at 1/125, but it may not give you enough control over how much of your product is in focus.
And if all of that sounds overwhelming, there is absolutely nothing wrong with using Auto mode in good natural light.
4. Using Your Cell Phone
You don't need a professional camera to take good product photos. Most modern smartphones are capable of producing excellent images when you have enough light.
Here's what I recommend:
Use your phone's regular Photo mode.
Photograph beside a window or outdoors in the shade.
Avoid using the flash.
Tap your product on the screen to tell your phone where to focus.
If the image looks too bright or too dark, adjust the exposure using the brightness slider that appears when you tap the screen.
Use the regular 1x camera when possible, rather than digitally zooming in.
Hold your phone steady and take several photographs.
If your phone has a Pro or Manual mode, you may be able to adjust ISO, shutter speed, and white balance yourself. However, for most sellers, the regular camera mode with good natural lighting is perfectly fine.
One thing to remember: Phones automatically process photographs, even when you haven't manually edited them. Features like HDR, sharpening, and automatic color adjustments are often built into the camera. That's different from opening a photograph afterward and manually editing it, although Etsy's specific rules should determine what is acceptable.
5. What If You Don't Have Enough Natural Light?
Your next best option is artificial lighting.
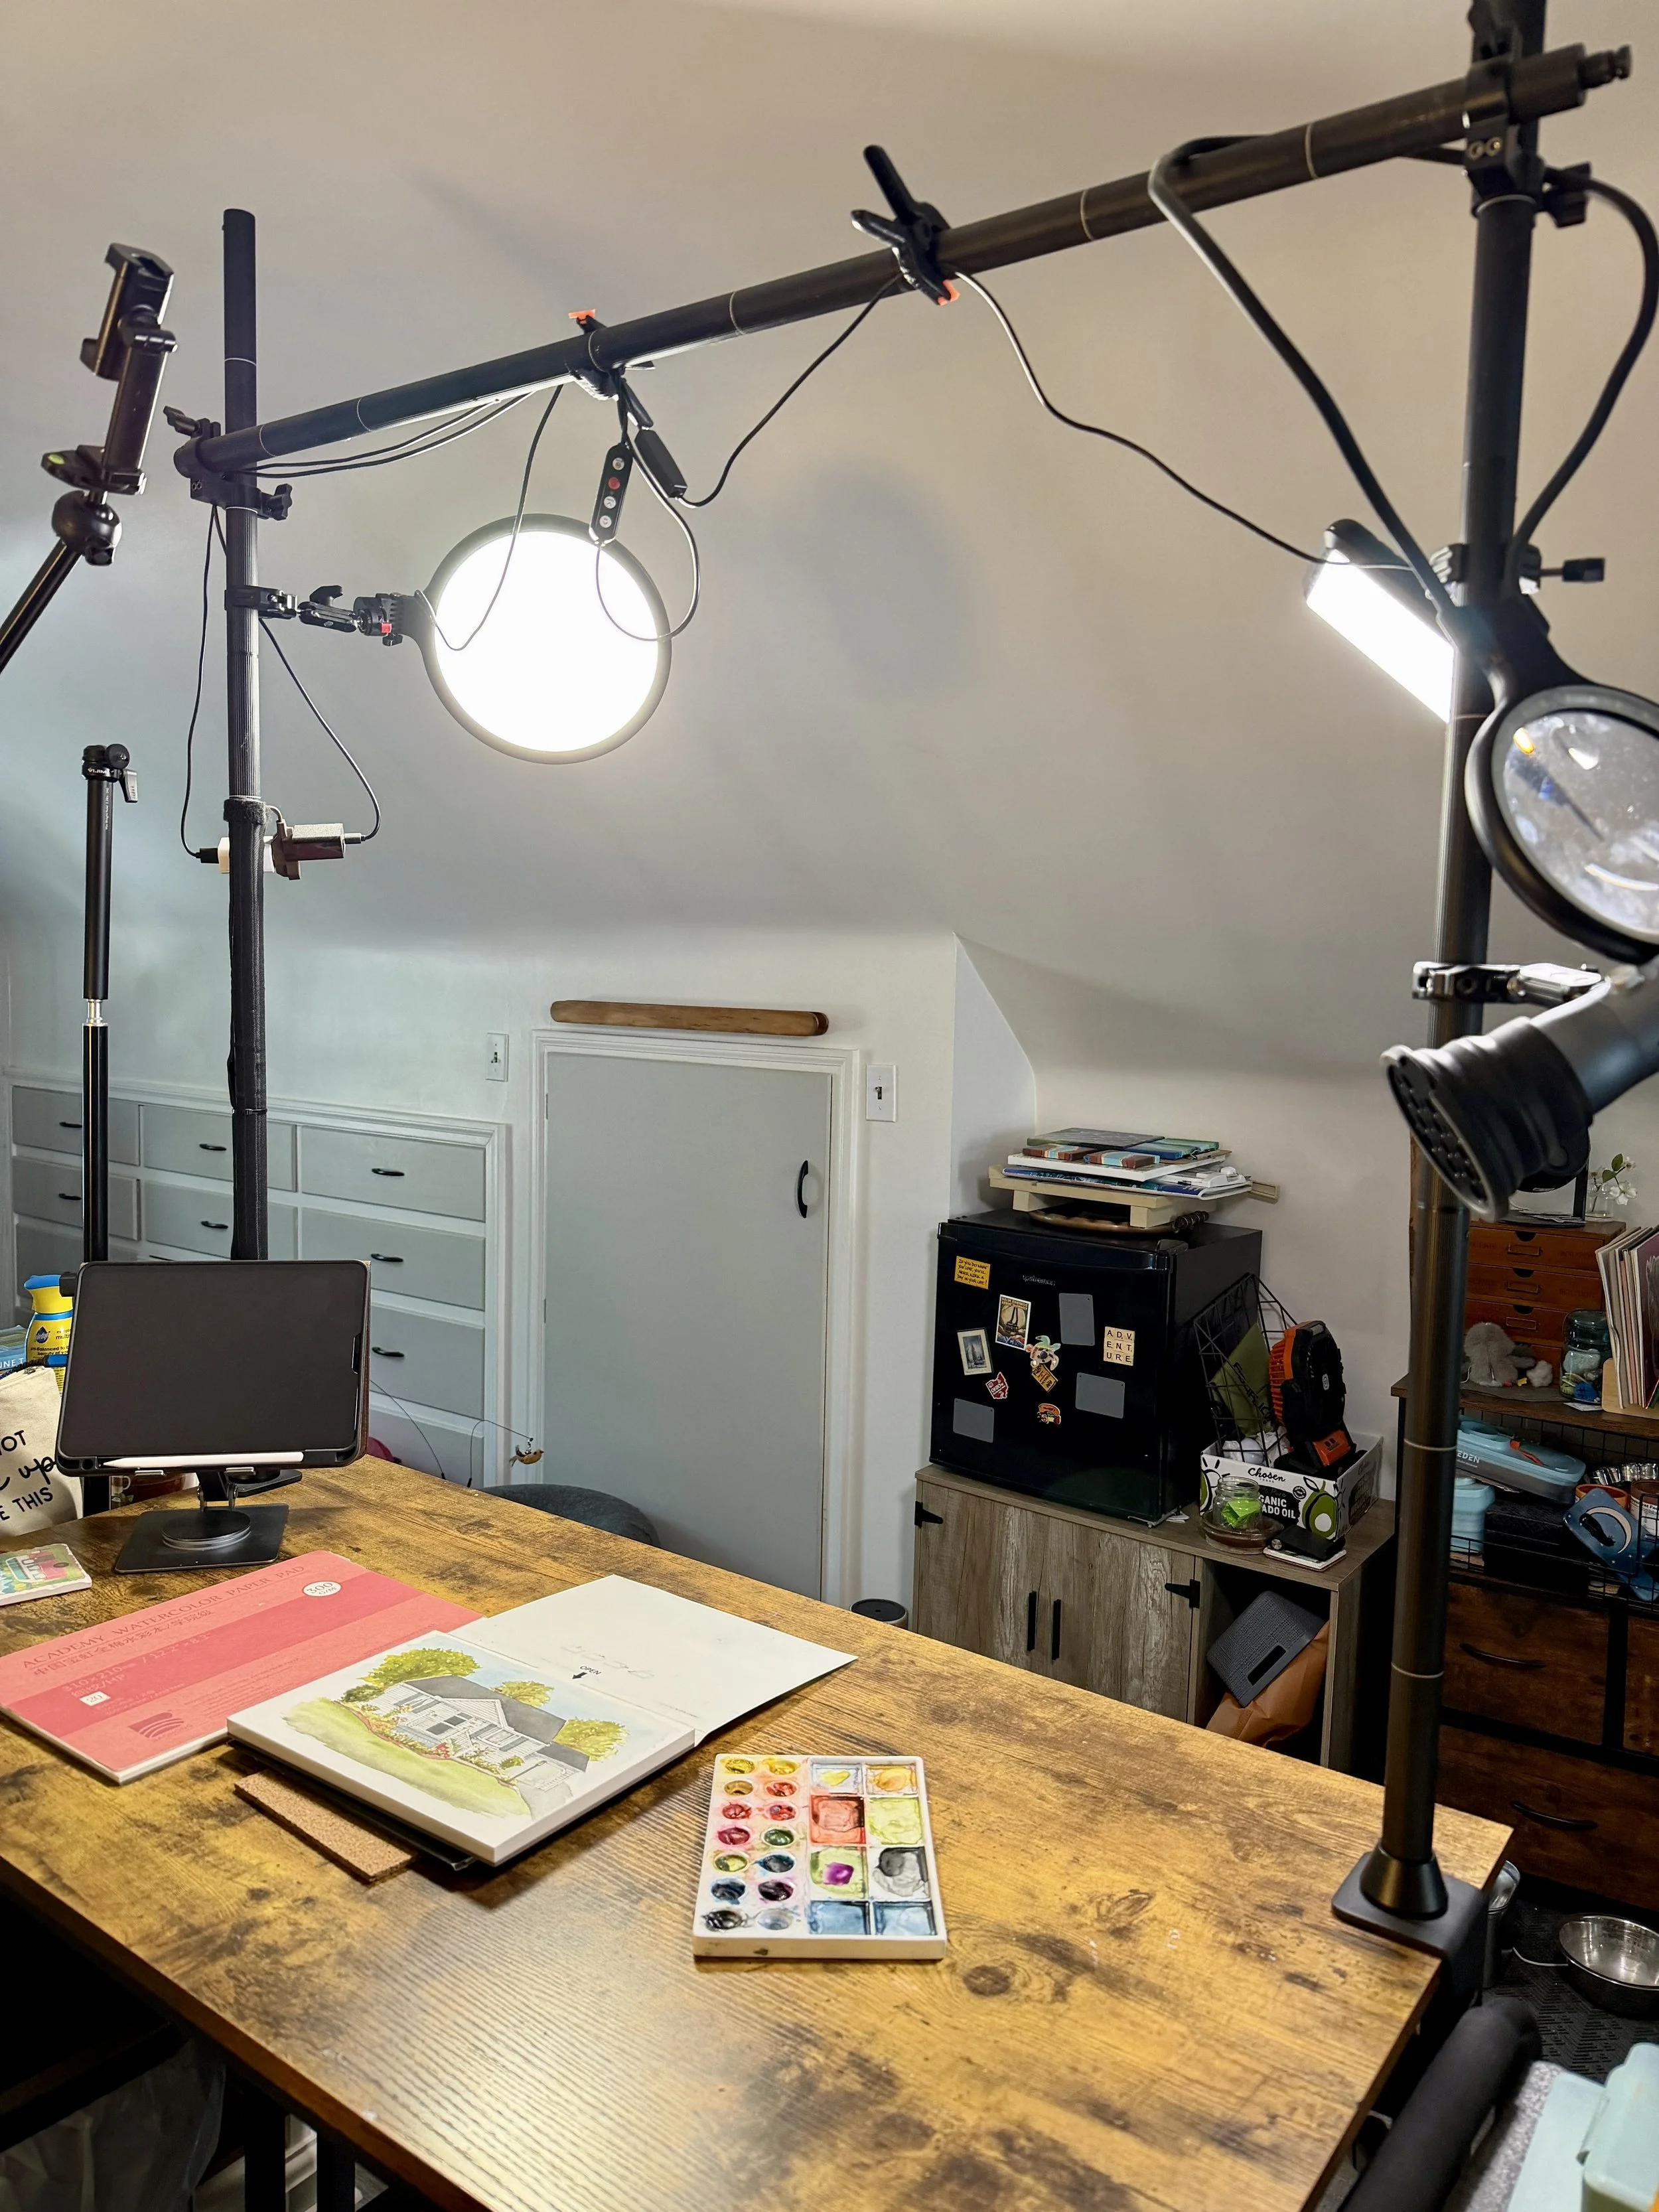
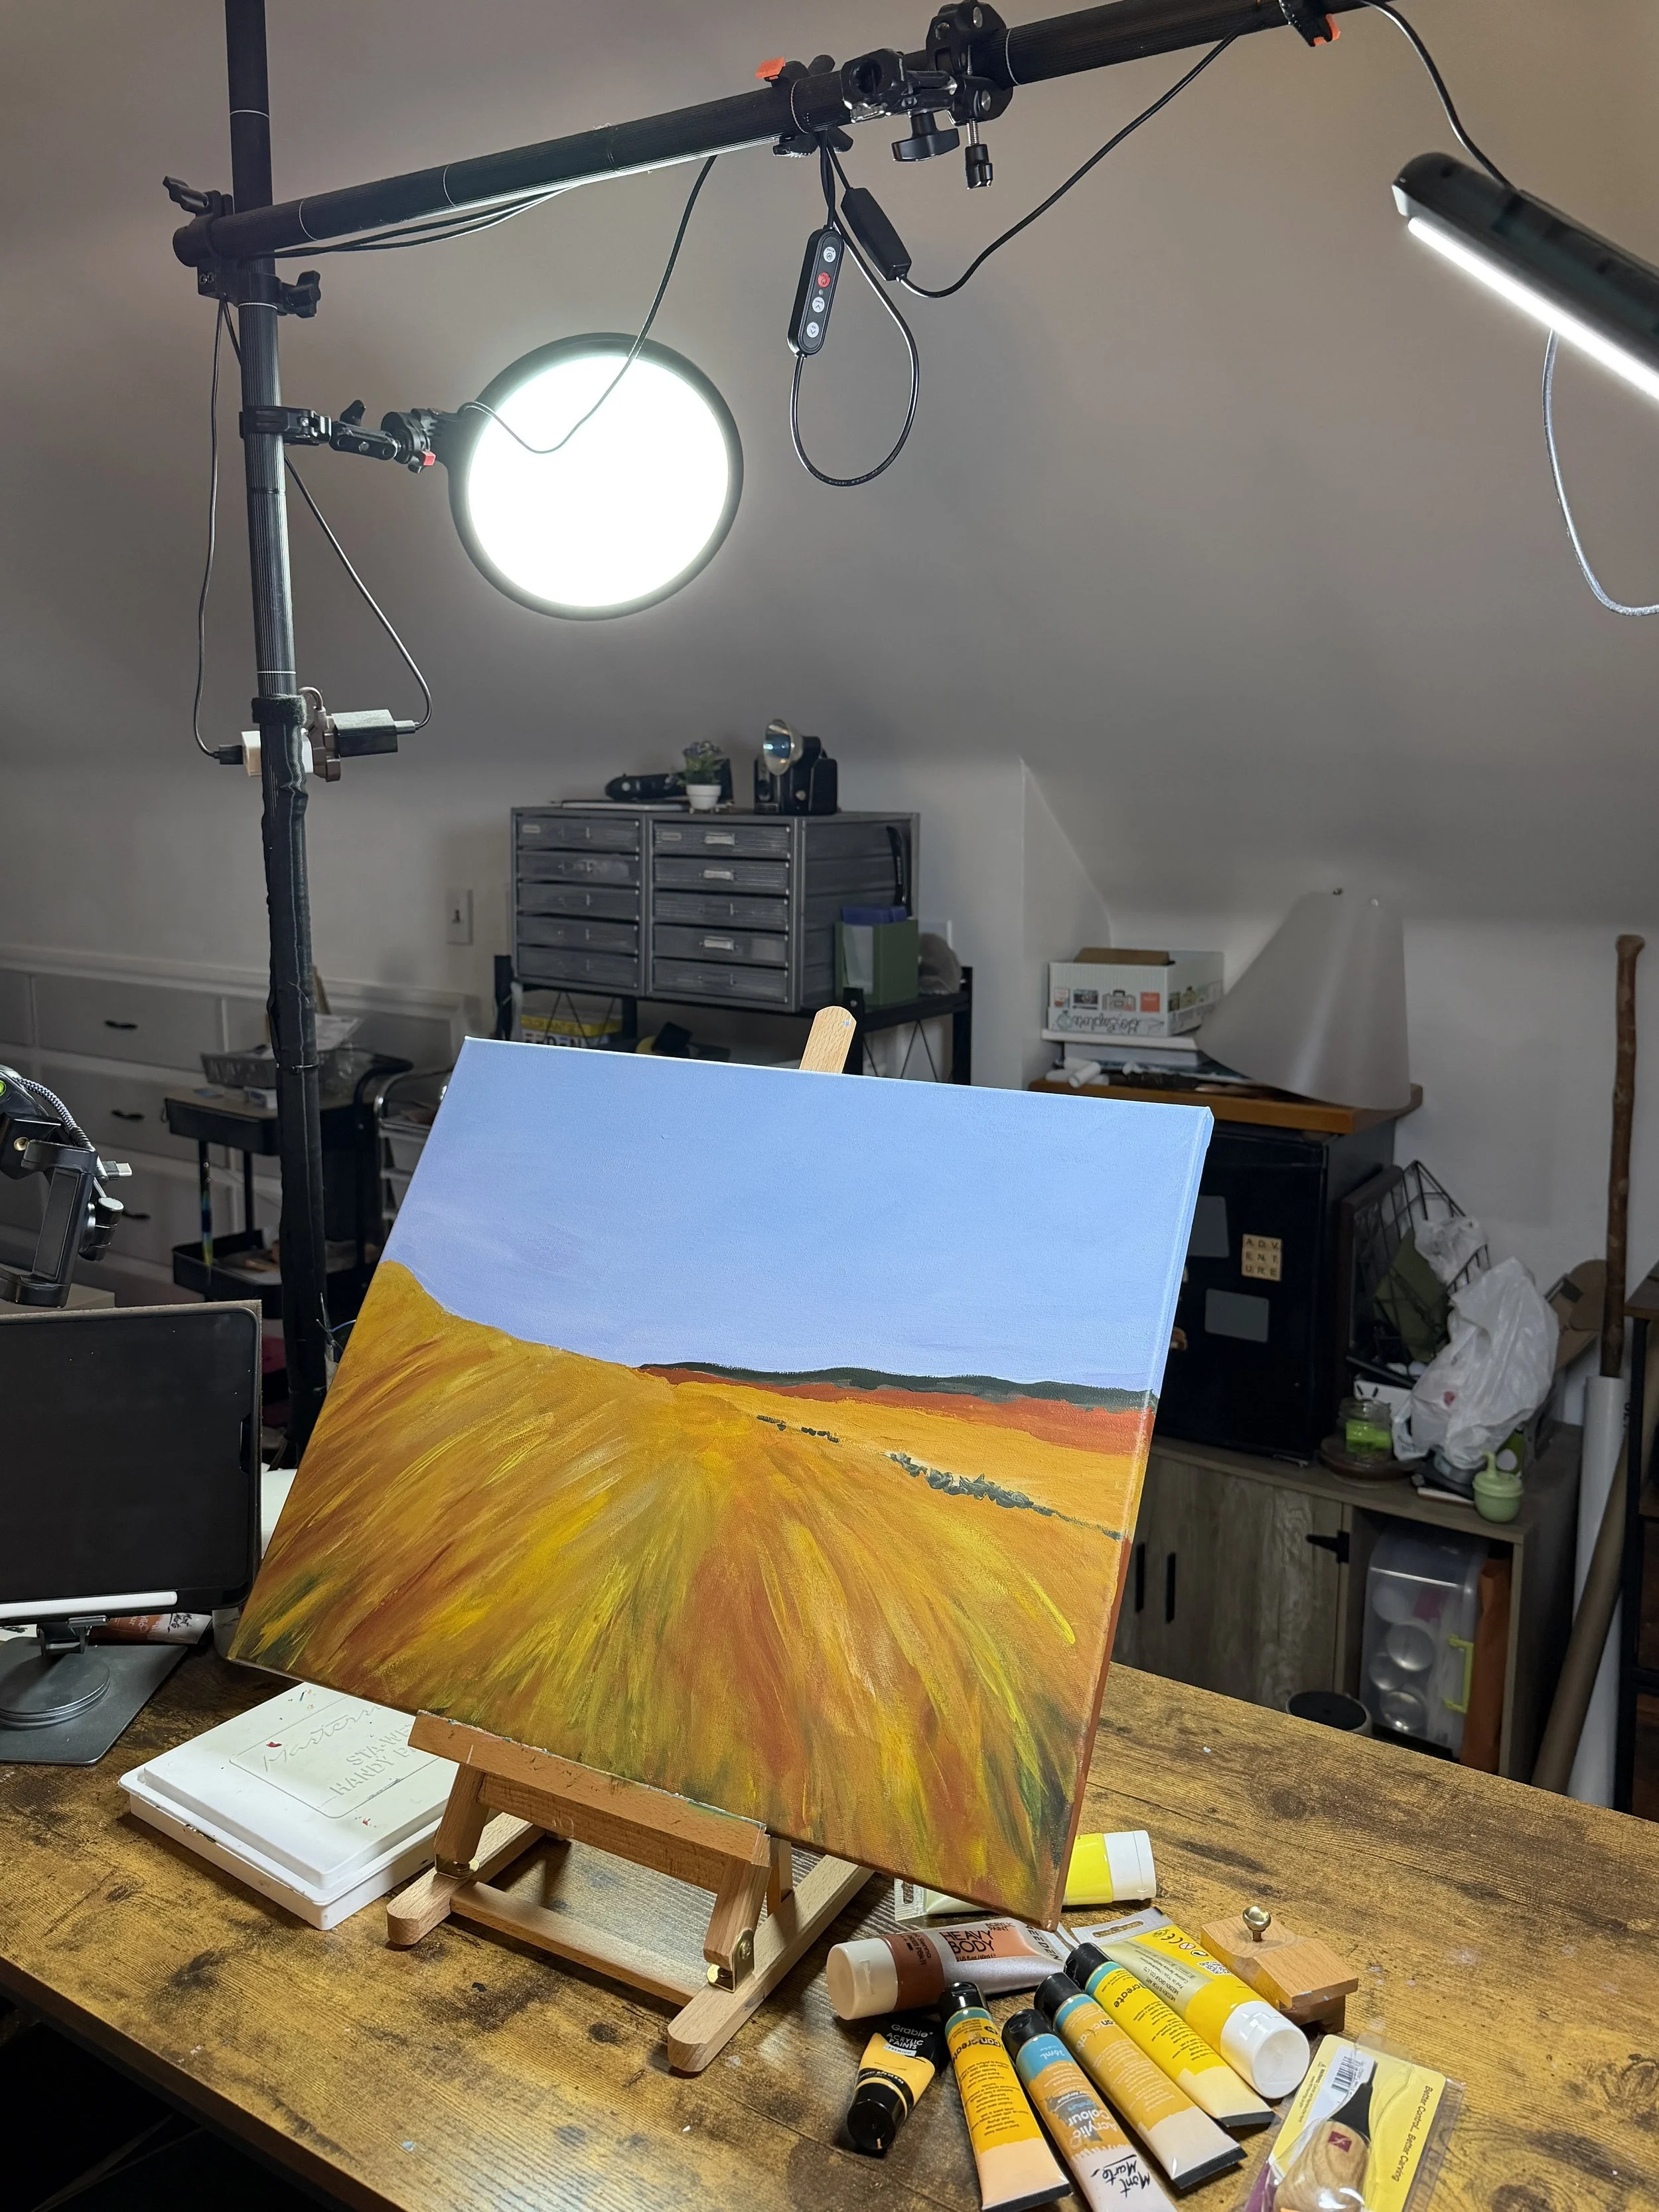
You don't necessarily need an expensive studio setup. A pair of LED photography lights or a basic lightbox can make a big difference.
I photograph most of my products using two lights, which allows me to control the lighting and get consistent results.
A few things to remember:
Use lights with a daylight-balanced color temperature, typically around 5000–5500K.
Avoid mixing different types of light, such as a yellow household lamp and a daylight LED.
Position your lights to illuminate the product evenly without creating harsh reflections.
Use diffused lighting whenever possible to soften shadows.
Our eyes can see details in much darker environments than our cameras can easily photograph. That's why a room that looks perfectly bright to you may still produce a dark or grainy photograph.
Sometimes the solution isn't changing your camera settings. It's simply adding more light.
Product Recommendation: https://link.amazon/B006pArE2
My Final Recommendation
Before spending money on photography equipment, try taking your product photographs beside a window or outdoors in the shade.
You might be surprised by how much better your photographs look when you change nothing except the lighting.
Good lighting makes a tremendous difference, especially when you're trying to produce accurate product photographs without relying on editing software.
One final note about Etsy: These are photography recommendations, not an interpretation of Etsy's policy. Sellers should check Etsy's current requirements for what qualifies as an unedited listing photograph, particularly when using automatic phone-camera processing or in-camera settings.